
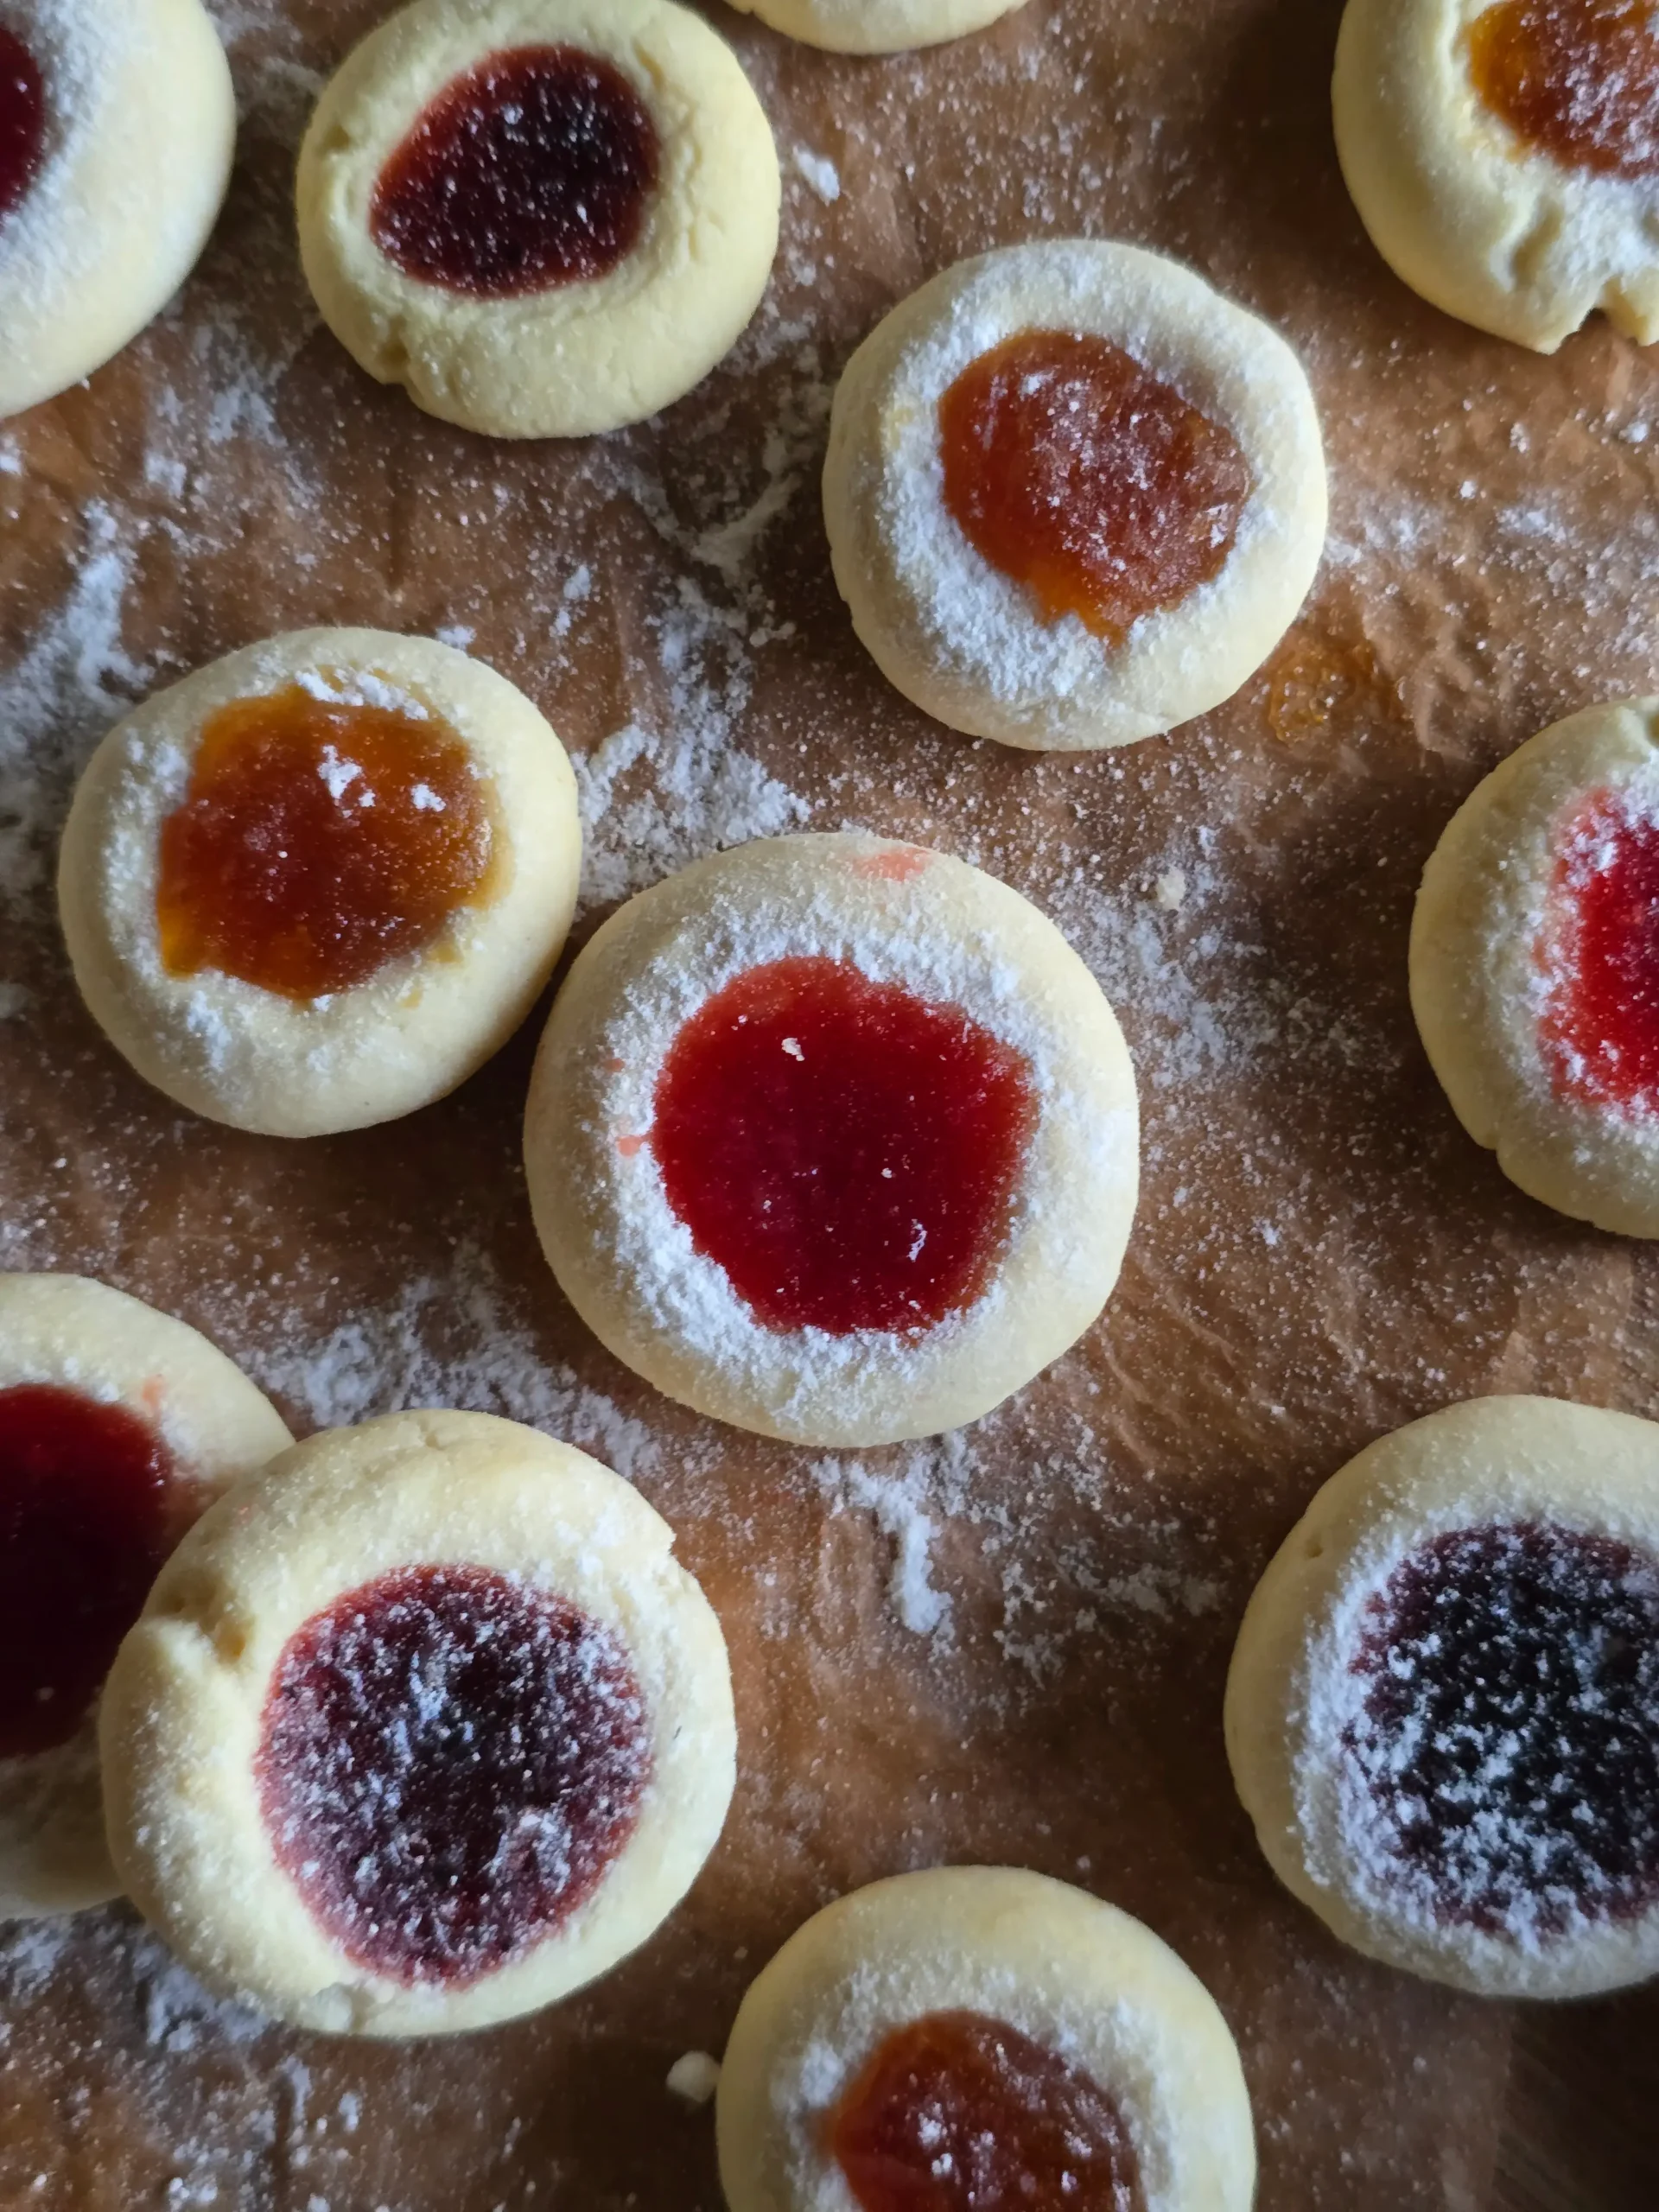
Few treats spark nostalgia quite like jam thumbprint cookies. Their buttery, crumbly texture and jewel-bright centers instantly remind us of childhood baking sessions and cozy family gatherings. We love how the sweet jam contrasts with the melt-in-your-mouth cookie base, creating a perfect balance of flavor and texture. Whether you’re preparing for the holidays, planning a bake sale, or simply craving something comforting, these cookies never disappoint.
Over the years, we’ve tested several versions of this recipe, adjusting butter ratios and experimenting with different jams — from classic strawberry to tangy apricot. Our favorite method is simple yet rewarding, producing cookies that hold their shape while remaining soft and tender. They pair beautifully with a cup of tea or coffee, making them ideal for afternoon snacks or casual entertaining.
Making jam thumbprint cookies is as fun as eating them. Rolling the dough into small balls and pressing your thumb into the center is a satisfying, hands-on step that adds to their charm. Just remember to chill the dough for the best shape and flavor, and to wash your hands before creating those little wells! Once baked, the cookies keep well in an airtight container, so you can prepare them ahead for parties or as homemade gifts.
With their mix of tradition and simplicity, these cookies deserve a spot in every baker’s repertoire. Follow our step-by-step instructions below to master this timeless treat and enjoy a batch fresh from your own oven.
Thumbprint Cookies
Ingredients
- 226 g unsalted butter softened (about 1 cup)
- 200 g icing sugar approximately 1 cup
- 2 large eggs
- 480 g all-purpose flour 4 cups
- 100 g cornstarch ½ cup
- ¾ tsp salt
- 1 tsp vanilla extract
- Your favorite jam (strawberry, raspberry, apricot… whatever makes you nostalgic)
Instructions
- Preheat your oven to 190°C (375°F) and line a baking tray with parchment paper.
- In a bowl, sift together the flour, cornstarch, and salt, then set aside.
- Cream the softened butter with the icing sugar until smooth and fluffy.
- Beat in the eggs one at a time, mixing well after each addition.
- Gradually add the dry mixture into the wet ingredients and mix until a soft dough forms.
- Stir in the vanilla extract.
- Scoop and roll the dough into small balls, about 1 tablespoon each, and arrange on the prepared tray.
- Use your thumb (or the back of a small spoon) to gently press an indentation in the center of each dough ball.
- Fill each indentation with a small spoonful of your favorite jam (strawberry, raspberry, apricot, etc.).
- Bake for 15 minutes, or until the edges are lightly golden.
- Let cookies cool on the tray for a few minutes before transferring to a wire rack.
- Serve once cooled — or store in an airtight container for up to a week (if they last that long).
Notes
Did you make this recipe?
Please let us know how it turned out for you! Leave a comment below.